Yes, I know that the title is indeed a result of a lazy attempt at plagiarization. I did try hard to come up with a clever title but gave up after 30 seconds. As the title suggests, this post is about spinning up a kubernetes cluster in less than 30 mins.
I tried a couple of options in setting up a Kubernetes(K8) cluster. One, a single architecture cluster built on arm architecture using Raspberry-Pis and two, a multi-architecture ( amd64 and arm) cluster using IntelNUC and Raspberry-Pi.
BEFORE YOU BEGIN
Before you get started, check out my earlier post on some of the limitations of K8 cluster built on an arm.
- Basic knowledge of K8s. If you are just beginning, suggest you checkout katakoda. It's a great place to get started on learning the basics of K8s right from your browser.
- Docker installed on all nodes
Optional: Mobaxterm installed. I use the Mobaxterm terminal, and it's an excellent tool for multi-execution, multi paste et al. This comes quite handy when you have to run the same command across multiple nodes.

Now you are all set to join your arm nodes. Swtich to step 11 and run the join command on the arm nodes.
Shown below are some screenshots of both K8 cluster configurations. I have intentionally left out the UI dashboard implementation in this post. In the next post, I will show the steps I took in setting up UI (K8 web UI and Rancer) and also steps for proper tear down of the setup. K8 cluster on arm
Execute the following steps on all nodes
Prepare the Raspberry-Pis
1. Change to root or run all commands in sudo
sudo -i
2. Switch off swap
 sudo dphys-swapfile swapoff && \
  sudo dphys-swapfile uninstall && \
  sudo update-rc.d dphys-swapfile remove
Edit cmd line and append the following text
cgroup_enable=cpuset cgroup_memory=1
3. Reboot.DO NOT SKIP THIS STEP
sudo reboot
4. Install HTTPS Support
apt-get install -y apt-transport-https
6. Update the source list
cat <
7. Install kubeadm,kubelet and kubectl
apt-get update |
apt-get install -y kubelet kubeadm kubectl
Now that all the nodes are prepped up to create a cluster, you can now create a master node. Run the following commands on the node that is chosen as the master node. NOTE: RUN THE BELOW COMMANDS ONLY ON MASTER NODE. If you are setting up a multi-arch K8 cluster, skip to section on multi-arch cluster
8. Initiate master
sudo kubeadm init --token-ttl=0 --apiserver-advertise-address=your ip
Now, grab a cuppa tea 'cause this might take anywhere between 5-15 mins.Once,the master node is initiated, you will see an output something like this:
To start using your cluster, you need to run (as a regular user):
    mkdir -p $HOME/.kube
    sudo cp -i /etc/kubernetes/admin.conf $HOME/.kube/config
    sudo chown $(id -u):$(id -g) $HOME/.kube/config
You should now deploy a pod network to the cluster.
Run "kubectl apply -f [podnetwork].yaml" with one of the options listed at: http://kubernetes.io/docs/admin/addons/
You can now join any number of machines by running the following on each node
as root:
kubeadm join --token 03932d.be9470e1230a5ec6 192.168.150.10:6443 --discovery-token-ca-cert-hash sha256:2376d719123bc89610e904ccb909eb1aaed658c8c4850dda77a5abec522933e7
9. Set up cluster as outlined in the output. Remember to exit from root
 mkdir -p $HOME/.kube
 sudo cp -i /etc/kubernetes/admin.conf $HOME/.kube/config
 sudo chown $(id -u):$(id -g) $HOME/.kube/config
10. Change to root again. Add a network plugin.I tried weave and it works without any configuration change.Also, download weave scripts. It will be very helpful in troubleshooting and tear down.
kubectl apply -f "https://cloud.weave.works/k8s/net?k8s-version=$(kubectl version | base64 | tr -d '\n')"
sudo curl -L git.io/weave -o /usr/local/bin/weave
sudo chmod a+x /usr/local/bin/weave
11. Join the nodes by running the command on the worker nodes
kubeadm join --token 03932d.be9470e1230a5ec6 192.168.150.10:6443 --discovery-token-ca-cert-hash sha256:2376d719123bc89610e904ccb909eb1aaed658c8c4850dda77a5abec522933e7
If you failed to note down the token,do not worry. You can generate the token by running the command on the master node anytime.
kubeadm token create --print-join-command
12. Check if everything is in order.You should be able to see your nodes now.
kubectl get pods --all-namespaces
kubectl get nodes
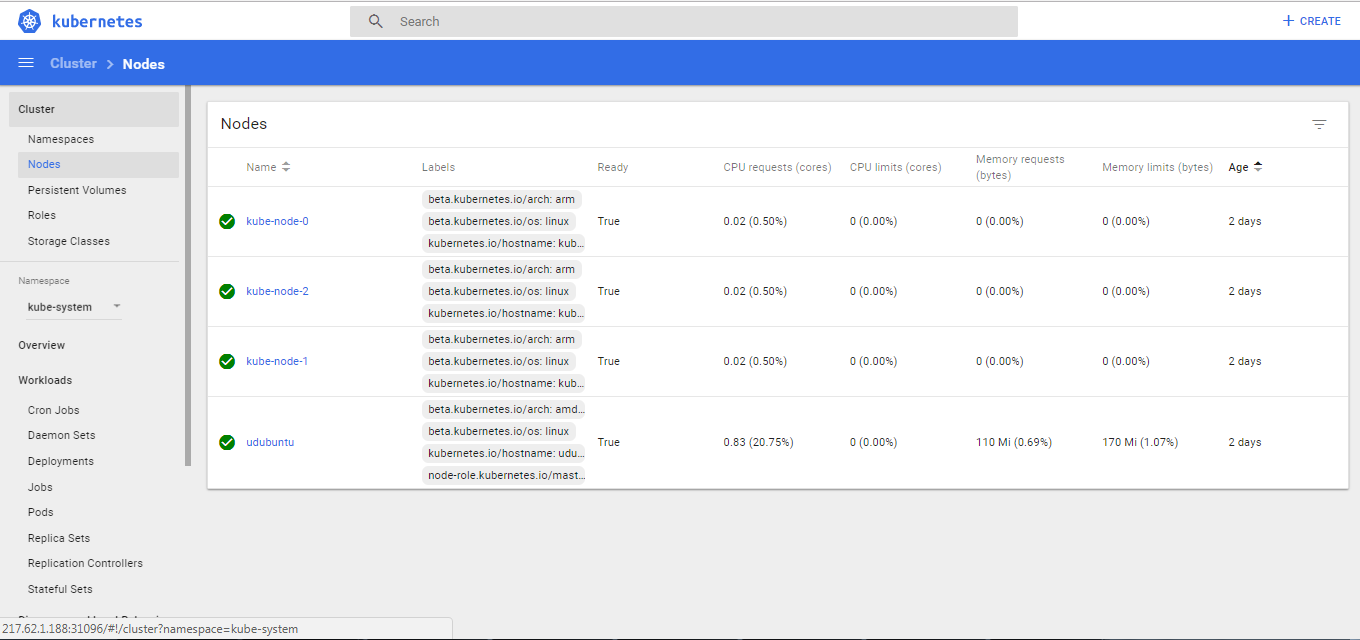
kubectl get nodes
NAME          STATUS    ROLES      AGE       VERSION
kube-node-0   Ready     none       3d        v1.9.4
kube-node-1   Ready     none       3d        v1.9.4
kube-node-2   Ready     none       3d        v1.9.4
udubuntu      Ready     master     3d        v1.9.4
Multi-Arch Cluster : Master Node on amd64 and worker node on arm
The above listed steps remain the same for all worker nodes until step #7. Once the arm worker nodes are prepared,the master node must be enabled to attach worker nodes that has a different architecture.
7.1 Switch off swap and initiate kubeadm
sudo swapoff -a
sudo kubeadm init
Follow steps 8 through 10 but do not join the nodes. If you try to join the nodes , you would notice that the nodes crash with a message crashloopbackoff . This is caused by image mismatch between kube-proxy and the worker node.Kube-proxy is run as a daemonset. This means,the daemonsets will be schedued to run on all nodes.If you inspect the kube-proxy, kubectl describe kube-proxy -n kube-system you will notice the image tag referencing to amd64 i.e.,the image of the master node. So, when the daemonset tries to run an amd64 image on an arm architecture, it crashes.The work around for this is to create a kube-proxy for arm nodes using "node selector" . Thanks to squidpickles'gistpage that provides a detailed explanation on this.
10.1 Edit kube-proxy to include node selector under
spec: template: spec kubectl edit daemonset kube-proxy --namespace=kube-system
nodeSelector:
    beta.kubernetes.io/arch: amd64
10.2 Save and copy the yml file as
daemonset-arm.yaml Now edit the file and make the following changes. Please note that the content below was copied from the Squicpickle's gist page. You can check the page for more information--- daemonset-amd64.yaml 2018-01-27 00:15:37.839511917 -0800
+++ daemonset-arm.yaml 2018-01-26 23:50:31.484332549 -0800
@@ -1,19 +1,10 @@
apiVersion: extensions/v1beta1
kind: DaemonSet
metadata:
- creationTimestamp: 2018-01-27T07:27:28Z
- generation: 2
labels:
k8s-app: kube-proxy
- name: kube-proxy
+ name: kube-proxy-arm
namespace: kube-system
- resourceVersion: "1662"
- selfLink: /apis/extensions/v1beta1/namespaces/kube-system/daemonsets/kube-proxy
- uid: 8769e0b3-0333-11e8-8cb9-40a8f02df8cb
spec:
revisionHistoryLimit: 10
selector:
@@ -29,7 +20,7 @@
- command:
- /usr/local/bin/kube-proxy
- --config=/var/lib/kube-proxy/config.conf
- image: gcr.io/google_containers/kube-proxy-amd64:v1.9.2
+ image: gcr.io/google_containers/kube-proxy-arm:v1.9.2
imagePullPolicy: IfNotPresent
name: kube-proxy
resources: {}
@@ -48,7 +39,7 @@
dnsPolicy: ClusterFirst
hostNetwork: true
nodeSelector:
- beta.kubernetes.io/arch: amd64
+ beta.kubernetes.io/arch: arm
restartPolicy: Always
schedulerName: default-scheduler
securityContext: {}
@@ -79,11 +70,3 @@
rollingUpdate:
maxUnavailable: 1
type: RollingUpdate
-status:
- currentNumberScheduled: 1
- desiredNumberScheduled: 1
- numberAvailable: 1
- numberMisscheduled: 0
- numberReady: 1
- observedGeneration: 2
- updatedNumberScheduled: 1
10.3 create the daemonset for arm
kubectl create -f daemonset-arm.yaml


Dashboard Screenshots