Hardcore techies swear by CLI. But for hobbyists and novices like me, dashboard is a great not only to visualize the environment but also a fabulous learning tool. The dashboards provide easy use to gui that helps you navigate and dig deeper into the systems witout remembering all the requisite commands.In this post, I have listed down the steps I took to set up the Kubernetes dashboard using the official kubernetes ( not sure if I can call it official though) dashboard and and Rancher. Please note that Rancher is a complete container management platform that has a neat dashboard. After I had set up the k8 cluster, I was exploring the option of exporting the current cluster set up on to Rancher and it worked seamlessly. Hence, am sharing both the options in this post.
Setting up Kubernetes Dashboard
* Caution: This method is the easiest but it's neither secure nor the recommended method.Check out reference section for secure access
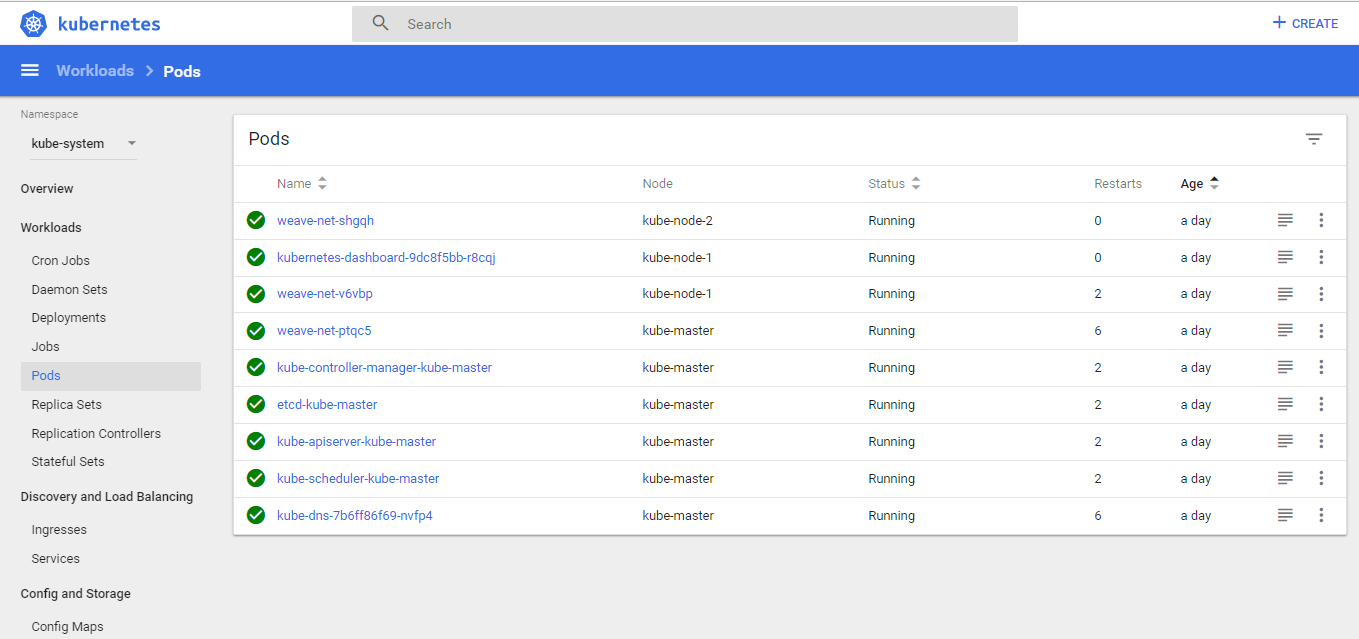
Step-1: Install kubernetes dashboard.
kubectl apply -f https://raw.githubusercontent.com/kubernetes/dashboard/master/src/deploy/alternative/kubernetes-dashboard.yaml
Step-2: Grant full admin privileges to dashboard service account by creating a cluseter binding role. Copy the below yaml file and save as dashboard-admin.yaml
apiVersion: rbac.authorization.k8s.io/v1beta1
kind: ClusterRoleBinding
metadata:
  name: kubernetes-dashboard-head
  labels:
    k8s-app: kubernetes-dashboard-head
roleRef:
  apiGroup: rbac.authorization.k8s.io
  kind: ClusterRole
  name: cluster-admin
subjects:
- kind: ServiceAccount
  name: kubernetes-dashboard-head
  namespace: kube-system
Step-3: Deploy the file
kubectl create -f dashboard-admin.yaml
Step-4: Edit dashboard port to access directly from the port and change type from ClusterIP to type NodePort
kubectl -n kube-system edit service kubernetes-dashboard
Step-5: Check the port number where the dashboard is published
kubectl -n kube-system get service kubernetes-dashboard
You should now be able to access the dashboard from the local host http://localhost:portnumber
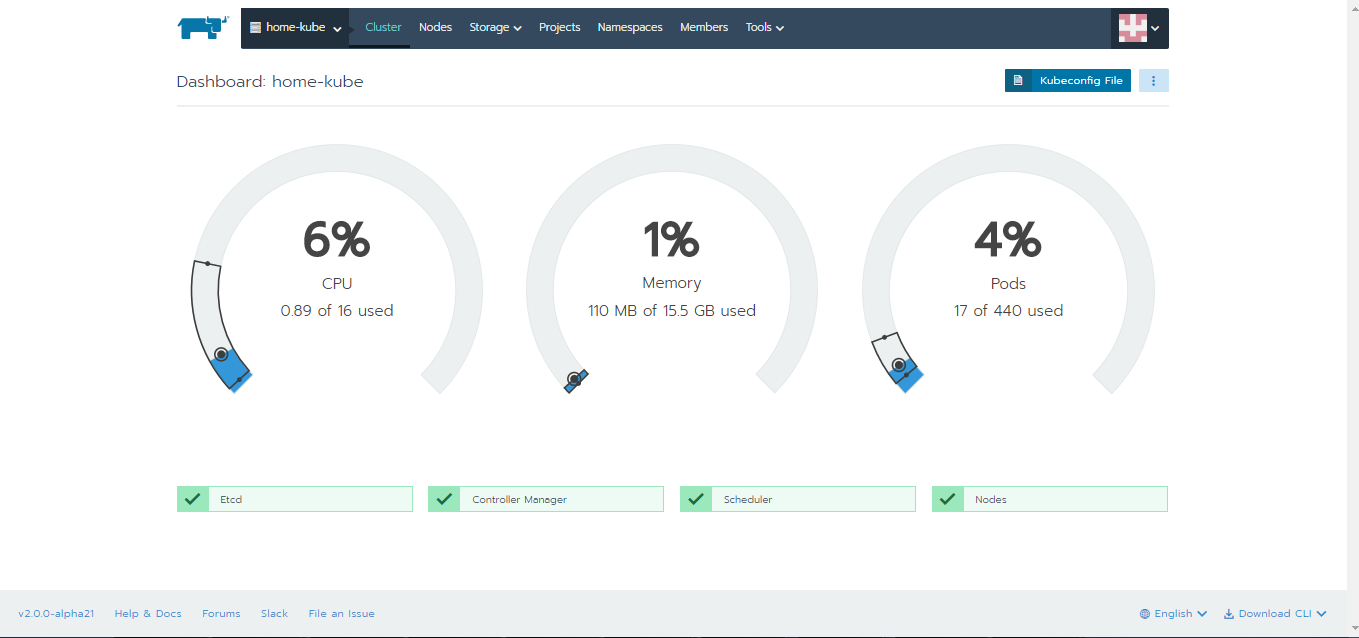
Setting up Rancher Dashboard
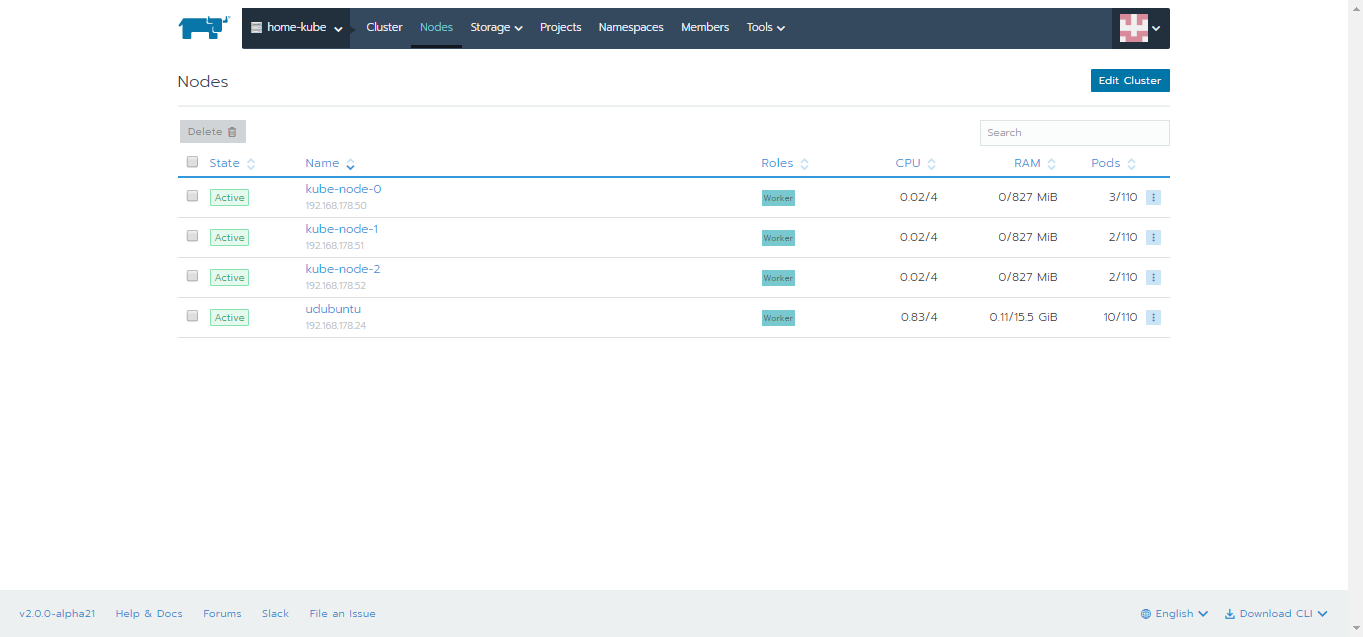
Step-1: Taint the nodes
kubectl taint nodebeta.kubernetes.io/arch=arm:NoSchedule kubectl taint node beta.kubernetes.io/arch=arm64:NoSchedule
If you are using multi-architecture cluster ( in my case, it was amd64 and armv7), make sure you taint the nodes. The concept of taints and tolerations allow to ensure the right images are installed.You can learn more about taints and tolerations here.
Step-2: Install and access Rancher dashboard
sudo docker run -d --restart=unless-stopped -p 80:80 -p 443:443 rancher/server:preview
Yes...it's that simple! Once you log in you can import an existing cluster.
Happy Learning!
References:
1. https://github.com/kubernetes/dashboard/wiki/Installation
2. https://github.com/kubernetes/dashboard/wiki/Access-control
3. https://rancher.com/docs/rancher/v2.0/en/quick-start-guide/#log-in
Disclaimer: This post does not represent the thoughts,intentions, plans or strategies of my employer. It is solely my opinion.Feel free to challenge me, disagree with me and share your thoughts in the comments section